How to Extract Text from Multiple Screenshots at Once on Windows
If you’ve ever needed to pull six fields from an invoice, four error lines from a dialog, or twelve cells from a PDF, you know the pain: take a screenshot, run OCR, copy text, repeat. Ten times. Then paste into Excel and realize you lost track of which text came from where.
There’s a better way.
The Old Way (What You’re Probably Doing Now)
- Press
Win+Shift+Sor open Snipping Tool - Drag around one field
- Click “Text Actions” → “Copy all text”
- Switch to Excel, paste
- Repeat 9 more times
- Hope you didn’t mix up row 3 and row 7
Windows Snipping Tool and PowerToys Text Extractor are great for one region. They return a single text blob. No numbering, no coordinates, no batch workflow.
The CaptureOCR Way
CaptureOCR is built for this exact scenario. Here’s the workflow:
1. Start a Capture Session
Press Ctrl+Shift+X (default hotkey) or click the tray icon. The screen dims and you enter selection mode.
2. Drag Around Each Region
Click and drag around the first field. A numbered badge appears: ①. Drag the second field: ②. Third: ③. Up to 10+ regions in one session.
3. Reorder or Delete (Optional)
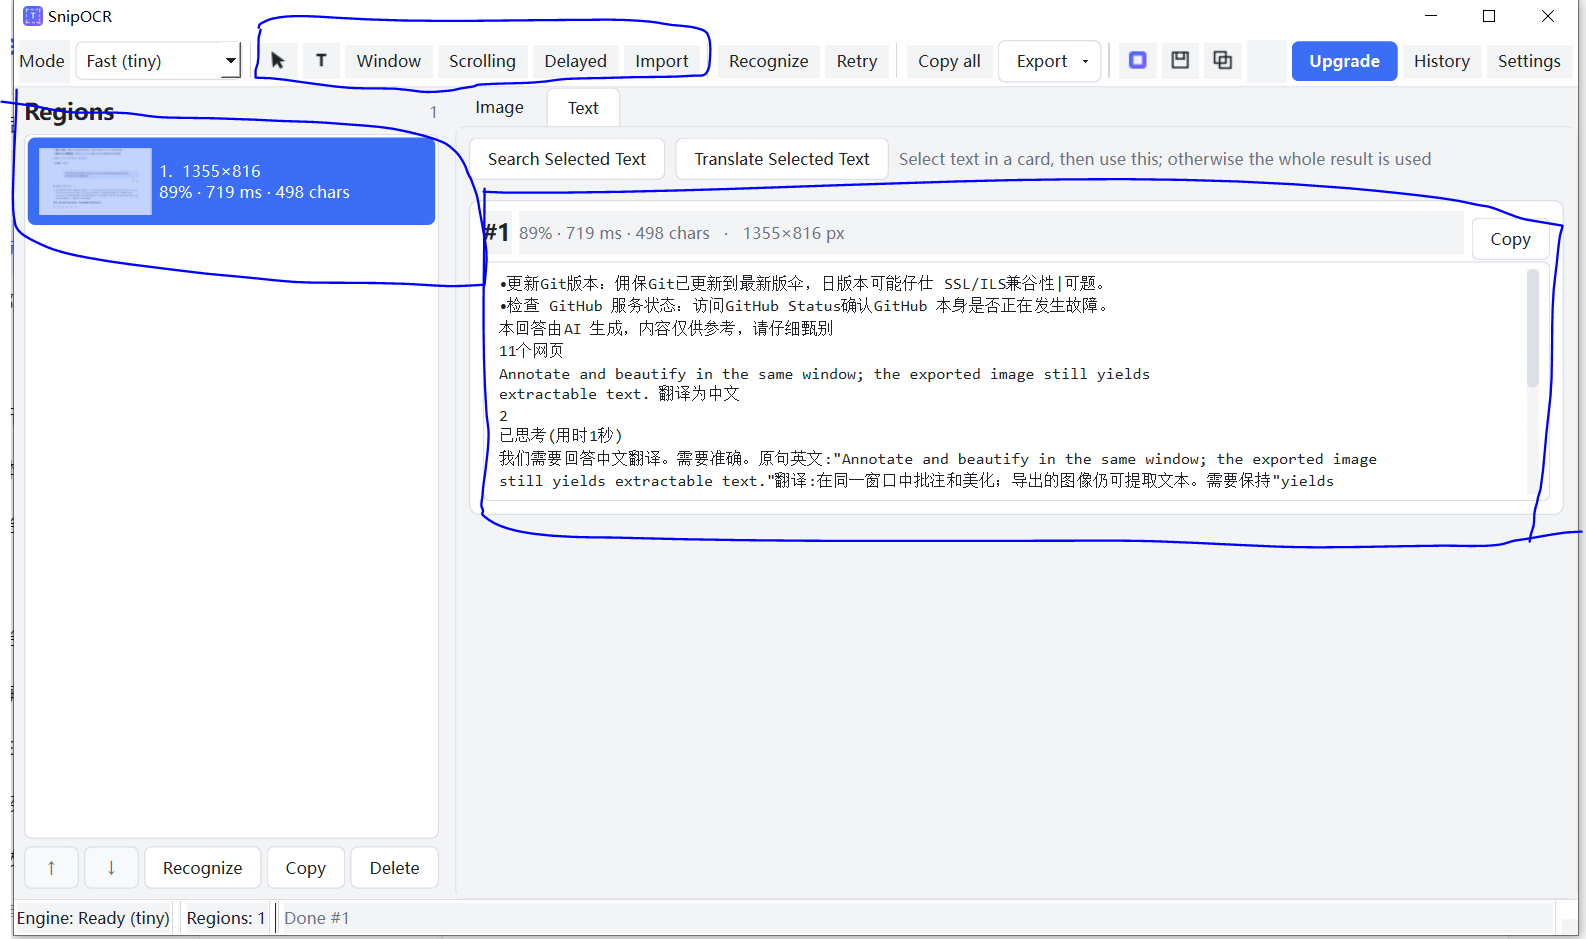
The region drawer shows all captures. Drag to reorder. Right-click to delete. The numbers update automatically — but internally each region keeps a stable ID so your export stays consistent.
4. Run OCR
Click “Recognize” or enable auto-OCR. Two modes:
- Fast (tiny model, ~6.6 MB): ~78 ms per image, 49 languages, no Japanese
- Accurate (small model, ~30 MB): ~258 ms per image, 50 languages including Japanese
Both run offline via ONNX Runtime. No cloud API calls.
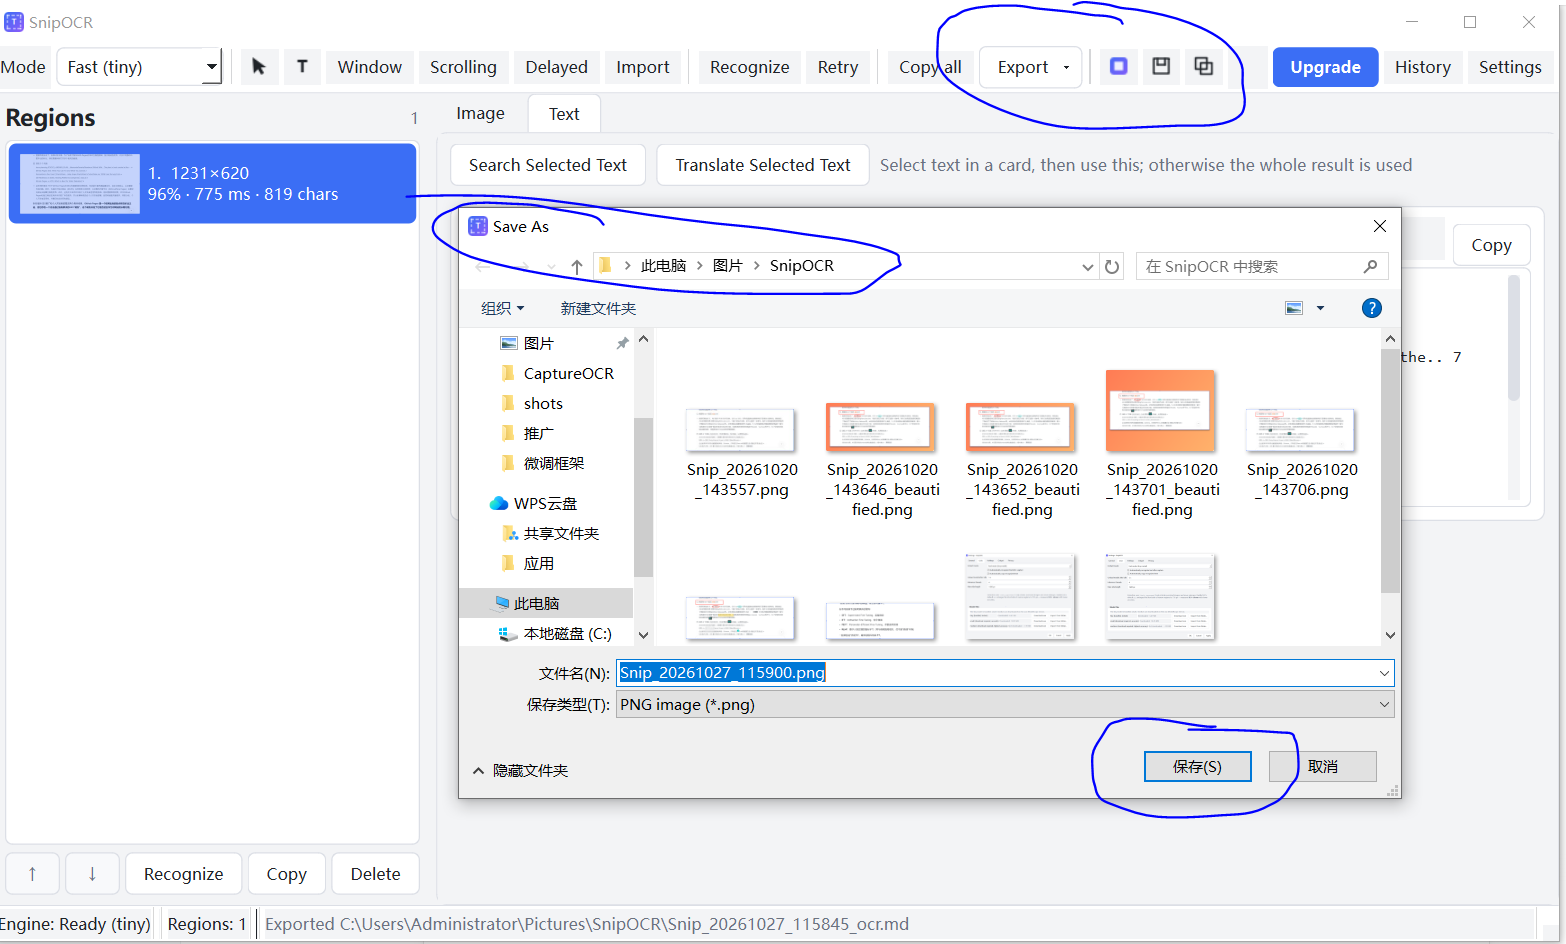
5. Export Structured Data
This is where it pays off. Export options:
| Format | What You Get |
|---|---|
| Markdown table | Region index, coordinates (x,y,w,h), line number, confidence, text |
| CSV (UTF-8 BOM) | Same fields plus session_id, mode, elapsed_ms, model_hash — opens correctly in Excel |
| TXT | Plain text blocks separated by region |
| .snipx session package | ZIP with original images, Markdown, CSV, and full JSON with normalized boxes |
Real Example: Processing an Invoice
Say you have this invoice on screen:
- Invoice number (top right)
- Date (top left)
- Vendor name (middle left)
- Line items table (middle, 5 rows)
- Total (bottom right)
Old way: 9 screenshots, 9 copy-pastes, manual cleanup in Excel.
CaptureOCR way:
Ctrl+Shift+X→ drag 5 regions (invoice #, date, vendor, line items area, total)- Auto-numbered ①②③④⑤
- Click “Recognize” → done in ~400ms total
- Export CSV → open in Excel → every row labeled with region index and coordinates
No retyping. No “wait, which cell was this?” The coordinates tell you exactly where on screen each piece came from.
When This Matters Most
- Support tickets: Error dialog + log line + customer message → one table
- Research: Figure labels + table cells + citations from a PDF → traceable rows
- Finance ops: Invoice fields → CSV → accounting system
- QA testing: Multiple UI states captured once, exported for regression docs
Key Settings Worth Knowing
| Setting | Where | Why It Matters |
|---|---|---|
| Auto-OCR | Settings → OCR | Recognizes immediately after each capture |
| Copy to clipboard | Settings → Output | Copies Markdown/CSV to clipboard automatically |
| Hotkey | Settings → Hotkey | Change from Ctrl+Shift+X if it conflicts |
| Language | Settings → General | UI language (EN/中文), persists across restarts |
Limitations to Know
- No table reconstruction: A captured table becomes text lines with region coordinates, not a reconstructed grid with merged cells. Many users pivot the CSV in Excel.
- Scrolling capture is best-effort: Works well in stable scrollers; virtualized lists may fail. Region capture is the reliable fallback.
- Windows only: No macOS/Linux build.
Get Started
- Install from Microsoft Store ($2.99 one-time, no subscription)

- Press
Ctrl+Shift+X - Drag your regions
- Export CSV → done
Related reads: